Getting Started with Oil Pastels
*This blog post includes affiliate links*
If you are interested in trying a new art medium that offers vibrant colors and a unique texture, you're in the right place! Oil pastels do just that and more. They are a fun way to stretch your creativity and get your hands *a little* dirty in the process! In this blog post, I'll share my favorite tips and materials for getting started with oil pastels as a beginner!
What are Oil Pastels?
Oil pastels are traditionally made up of pigments, an extremely pure synthetic binding medium and mineral wax, giving them a vibrant creamy texture. They are extremely easy to blend and can be used on various surfaces including paper, wood, and canvas. They can be used with and without a fixative, but should be handled carefully as they truly never "dry", but only cure over time.
Essential supplies for getting started!
- Oil Pastels - There are various brands and price points when it comes to oil pastels. Many brands have sets you can purchase, which gives you various vibrant colors to choose from when creating. The difference between brands of oil pastels usually lies within vibrancy and texture. I personally use Sennelier and have loved this set. Here is an option for a more budget friendly set as well!
-
Paper or surface to create on - Although you can use oil pastels on various surfaces, I highly suggest starting out on paper as a cost effective option. They do best on paper that has texture to grip the pigment, so I highly recommend the paper specifically made for pastels by Strathmore or Sennelier. Once you get going, you may be interested in a thicker paper, so I then recommend trying out Arches (traditionally for watercolor, but works for this as well).
- Blending tools - I personally use my fingers to blend my oil pastels, but some people may not like this method as it is fairly messy. This is not completely necessary, but if you'd like less of a mess then I recommend trying something such as tissue paper, brushes or cotton swabs to blend.
- Fixative - This step is completely optional and one I personally skip, but I wanted to throw it out there for you to make your own educated decision! Fixatives can help prevent smudging, which may be appealing to you, so I have linked one here! I still highly recommend framing your artwork behind glass if possible to help protect your piece.
- Frames - Oil pastel artworks should be framed behind glass if at all possible to prevent smudging. If you are creating a piece on canvas that cannot be framed, I then highly suggest you use a fixative in case the painting is bumped in any way during its lifetime to prevent smudging. Here are my current favorite frames that comes with a spacer to protect your art! Space within a frame to give the artwork protection from the glass is very important as well, so I typically look for deep frames and mats.
- Mats - Mats are a great way to create air space in the frame and prevent the piece from being smudged on the glass. I personally try to use a double mat if I am not using a spacer in the frame. I have used these mats and love the quality!
- Spacers - Spacers are a small piece of plastic that creates a space between the glass and the mat/artwork. I have recently starting using these when framing and am very happy with how well they protect my pieces from the glass. The spacer has an adhesive that keeps it from moving from the glass. They typically come in clear, black or white to help you best match them to your frame and mat. They are very easy to install as a beginner!
Techniques when getting started
- Blending - Just like I mentioned above, blending with your fingers can help create colors or textures that you like for your piece. I create many lighter colors by first using a dark color on the paper, and then layering white on top. I use my fingers to blend, giving a much lighter shade of my wanted color.
- Layering - Like I mentioned above, layering can help you create the color you truly want! I often layer yellows and pinks to create the beautiful coral colors I love!
- Hatching or Cross-hatching - Creating lines throughout your art can add texture and depth, especially to landscape pieces.
- Scratching - I'm sure there is a technical term for this, but I am referring to the act of scratching away a layer of pastel with a palette knife to reveal the base layer of oil pastel.
Advice for getting started:
I highly recommend just having fun at first and trying something new! Find a fun subject you enjoy drawing and go for it! I personally love flowers and tablescapes, and have so much fun creating new compositions with them! Whatever you make will be unique to you and will be a fun piece of art for your home or even to sell! Whether you are a beginner artist or very experienced, oil pastels are a fun medium to explore!
I have all of my supplies listed here in my amazon storefront if you'd like to see them all in one place! I highly appreciate your support through my links as I gain commission on all purchases made through them!
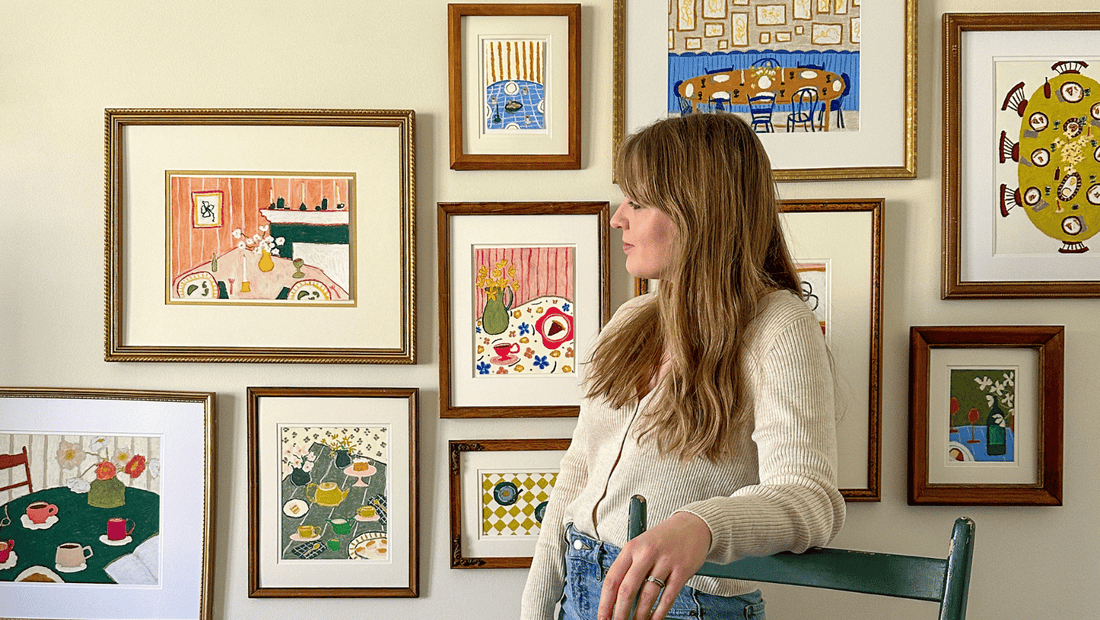
A few pieces I have created with oil pastels
I am continually adding new oil pastel pieces to my site! See what I have available here and a few photo examples of my work below! I hope you love them!
